Guides guide
Tips & Tricks to Play The Choicer Voicer Game
Learn how to improve pitch, timing, emotion, microphone clarity, Dub Mode takes, and Twitch Chat performances in The Choicer Voicer.
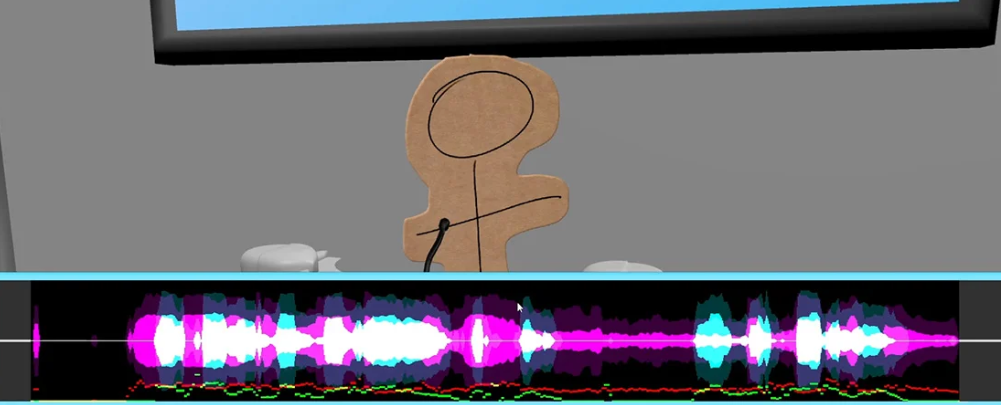
The fastest way to improve at The Choicer Voicer is to stop chasing a perfect character voice and start listening for the details the source clip is actually giving you. Depending on the mode, your take may be compared by a computer panel, people in the room, or Twitch chat. Pitch shape, timing, emotional delivery, and a clean microphone signal all help your performance come across clearly.
🎙️ Quick listening tip: Hear the clip once for its words, then once for its sound. You will notice more when you give pitch, rhythm, and attitude their own pass.
Matching Pitch and Tone
Match the movement of the reference voice before worrying about sounding identical to its speaker. Listen for the way the line rises, falls, pauses on a note, or settles at the end. If your voice follows that contour in a comfortable register, the impression will usually read more clearly than a strained performance that holds one flat note.
Give the clip two deliberate listens. Use the first pass to understand the words and the second to follow the sound without getting distracted by meaning. Humming the contour is a useful quiet check because it lets you hear a missed rise or drop before difficult words get in the way.
Tone is more than pitch. A nasal, breathy, clipped, or gravelly texture can be the detail that makes a delivery recognizable. Add one texture at a time instead of forcing every quality into the same take.
| Practice | What it targets | How to use it |
|---|---|---|
| Contour humming | Pitch movement | Hum the line once before each serious attempt. |
| Register adjustment | Overall vocal range | Move toward the target range without pushing into discomfort. |
| Texture pass | Tone quality | Practice one texture, then add it lightly to the spoken line. |
Timing Your Delivery
Timing deserves its own practice because an accurate tone can still lose impact when the entrance, pauses, or speed changes arrive late. Treat the clip like a rhythm track: notice when the first word begins, where the speaker breathes, and which phrases move faster than the rest.
Do not match only the total length. Two performances can finish at the same moment while using very different pacing inside the line. Preserve the small gaps that give the sentence its shape, and practice starting on cue so one late entrance does not pull every later beat out of place.
Unfamiliar names and fast phrases are common trouble spots. Say those pieces slowly away from the game, then bring them back to the original pace. Avoid adding a dramatic pause just because it sounds fun if the reference clip moves straight through that moment.
Reading the Clip’s Emotion
Choose the clip’s emotional direction before you record. One clear word—annoyed, excited, nervous, smug, tired, or panicked—gives you something to play instead of leaving you to decide what the line means halfway through.
Listen for changes inside longer clips. A speaker may begin confident and turn worried, or start quietly and become intense. Keep the opening attitude long enough for it to read, then let your delivery change when the source changes. A committed choice is easier to recognize than a careful performance that never settles on a feeling.
If you are unsure how large the emotion should be, begin slightly bigger than your everyday speaking voice. Flat delivery can hide the match, while a clear expression gives judges and chat something definite to hear. You can reduce the intensity on the next attempt if the result feels too broad.
Mic Setup for Clean Recording
Check the audio path before the first scored round, not after a silent take. Confirm that the browser has microphone permission, select the intended input device, and speak once while watching for a steady signal. A low or clipped recording can hide good pitch and timing.
Keep the microphone close enough for a consistent level, but leave room for louder lines. Headphones help prevent the reference clip from leaking into your recording, and a quiet room reduces the background sound competing with your voice.
Standard stereo routing is a sensible baseline when an elaborate surround or virtual device produces dropouts. If the microphone is not registering at all, check the selected input first. Run a short test after switching headsets, browsers, or system audio settings. 🔧
Step-by-Step Workflow for a Strong Attempt
Use the same short checklist each time so your attention stays on the performance:
- Listen to the full clip without speaking over it.
- Listen again for pitch movement, pauses, and speed changes.
- Name the emotional register in one word.
- Hum the contour and choose a comfortable register.
- Check the input device and make a short test recording if the setup changed.
- Perform with one clear intention instead of trying to fix every detail at once.
- Review the take when the mode allows it and identify the weakest match: pitch, timing, emotion, or clarity.
On the next attempt, fix that one weak point. Changing pitch, pacing, emotion, and microphone position all at once makes it hard to tell what helped. Skipping the listen-through, rushing an unfamiliar phrase, or leaving the input unchecked between sessions usually creates a preventable problem before the performance even starts.
Dub Mode Tips
Dub Mode gives you more room to practice sustained timing and character consistency. Start with a short scene, keep the reference audible while you learn the entrances, and mute it once the rhythm feels reliable. That last step tests whether your delivery can stand on its own instead of following the reference unconsciously.
Longer footage exposes small habits that short rounds can hide. Keep the same vocal texture across several lines, leave space for the source pauses, and avoid rushing because you want to reach the end of the scene. If the available pack supports filtering by character or file, repeat a focused group of clips rather than jumping between unrelated voices.
Save a brief test before recording a full scene. It can reveal a permission change, microphone dropout, or video-sync issue while the fix is still simple. 🎬
Twitch Chat Mode Tips
Twitch Chat Mode works best when your choices are easy to understand in real time. Explain the commands and voting window before the first round, keep the current prompt visible, and choose clips your audience can recognize without a long explanation.
Chat often reacts faster to a large, readable emotion than to a subtle technical detail. Lean into the attitude of the line, but keep the words and timing clear enough for viewers to follow. Watch which clip categories get the strongest response and favor those when the session lets you choose.
Some chat-focused packs allow viewers to submit or contribute audio. Tell people how those submissions enter the session so the audience understands what they are judging. Leave room for reactions between attempts, keep the rules short, and let the performance carry the moment instead of burying it under commands. 💬